Plan smarter. Travel better.
Your AI-powered travel companion. Discover destinations, plan trips, and explore the world smarter with expert travel tips.
134+ destinations•Personalized trip plans•Expert tips
europe
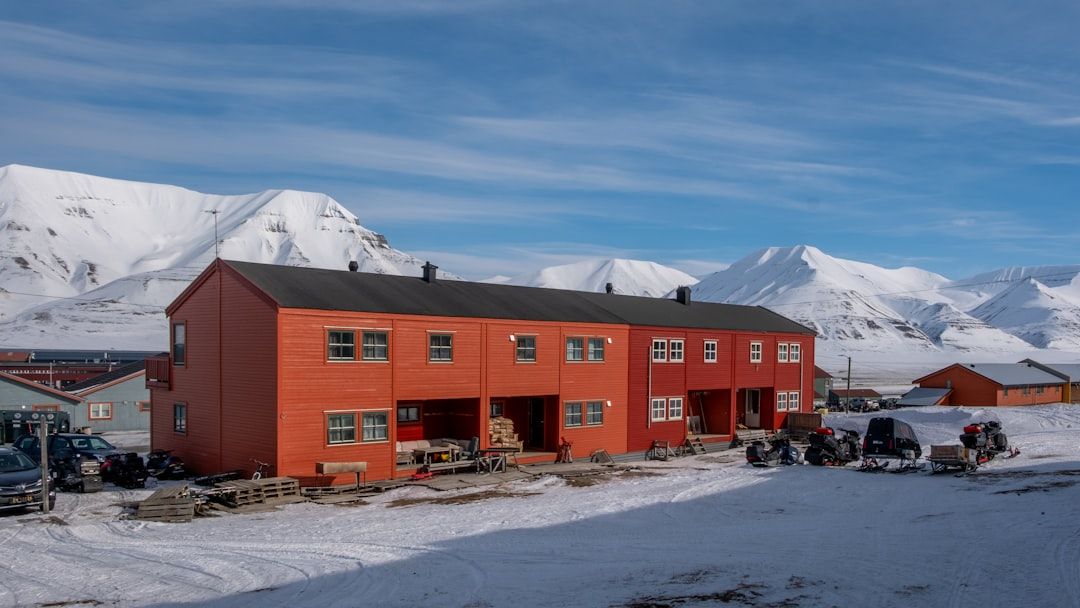
Svalbard, Norway
europe
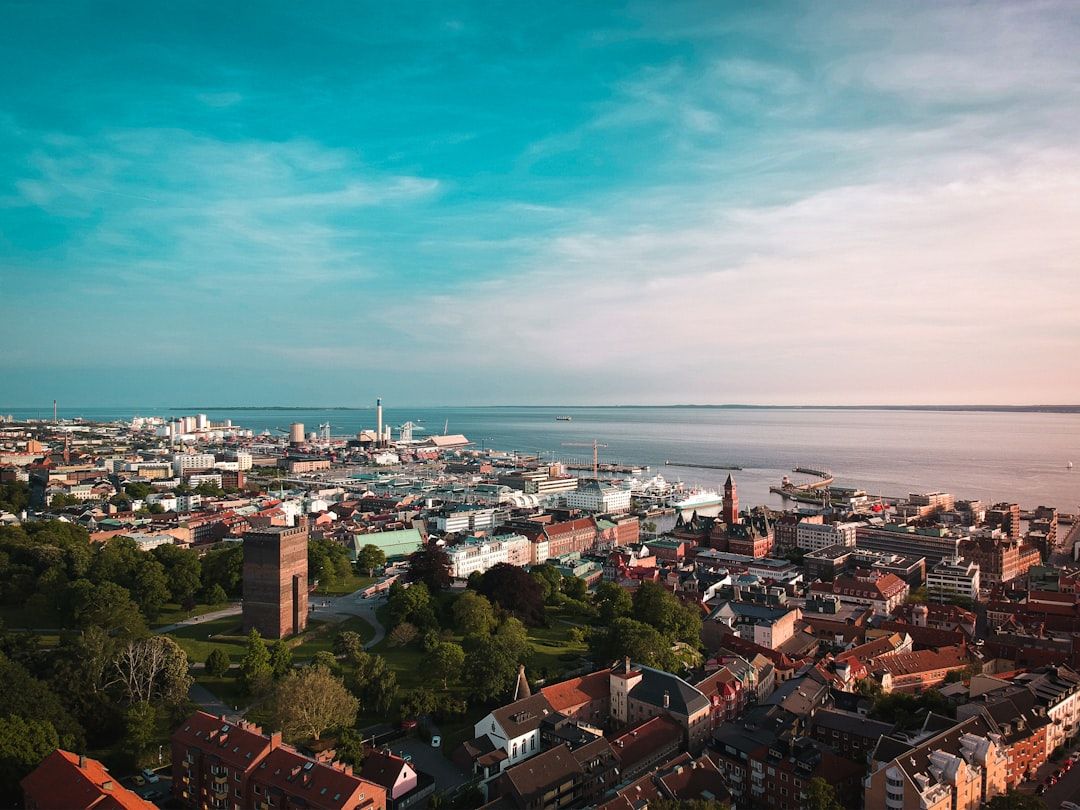
Helsingborg, Sweden

europe
London

europe
Budapest, Hungary

asia
Baku, Azerbaijan

europe
Galway, Ireland

north-america
Antigua, Guatemala

asia
Bali

europe
Barcelona

europe
Edinburgh, United Kingdom
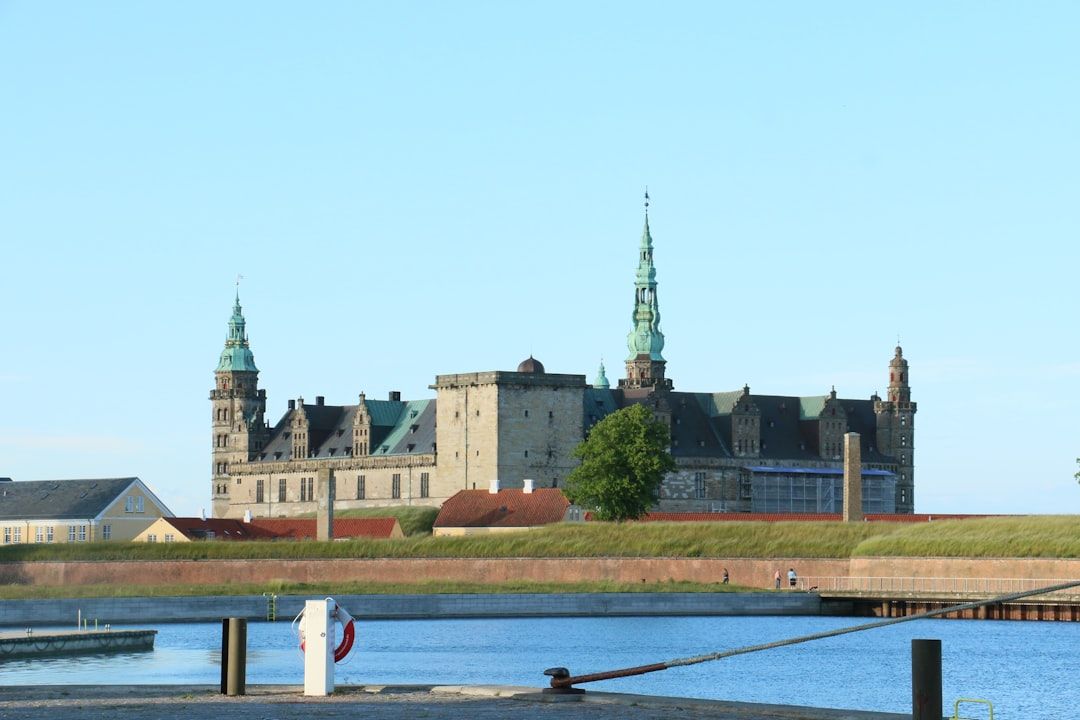
europe
Helsingør, Denmark
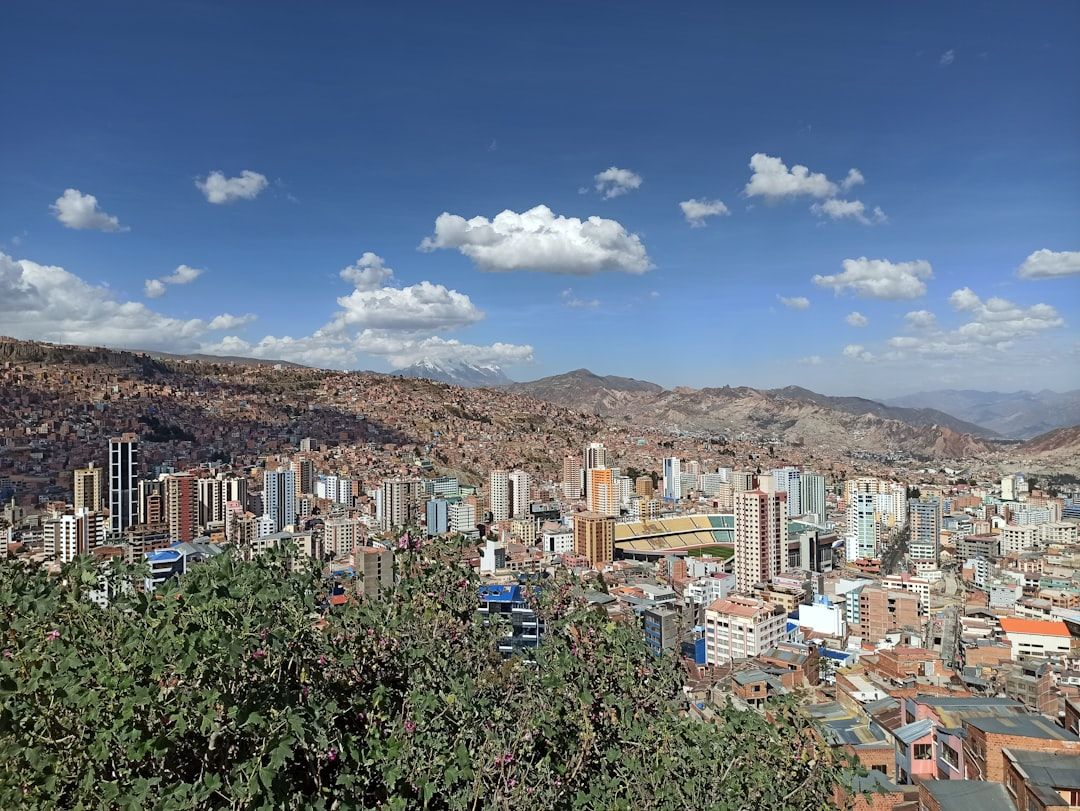
south-america
La Paz, Bolivia
europe
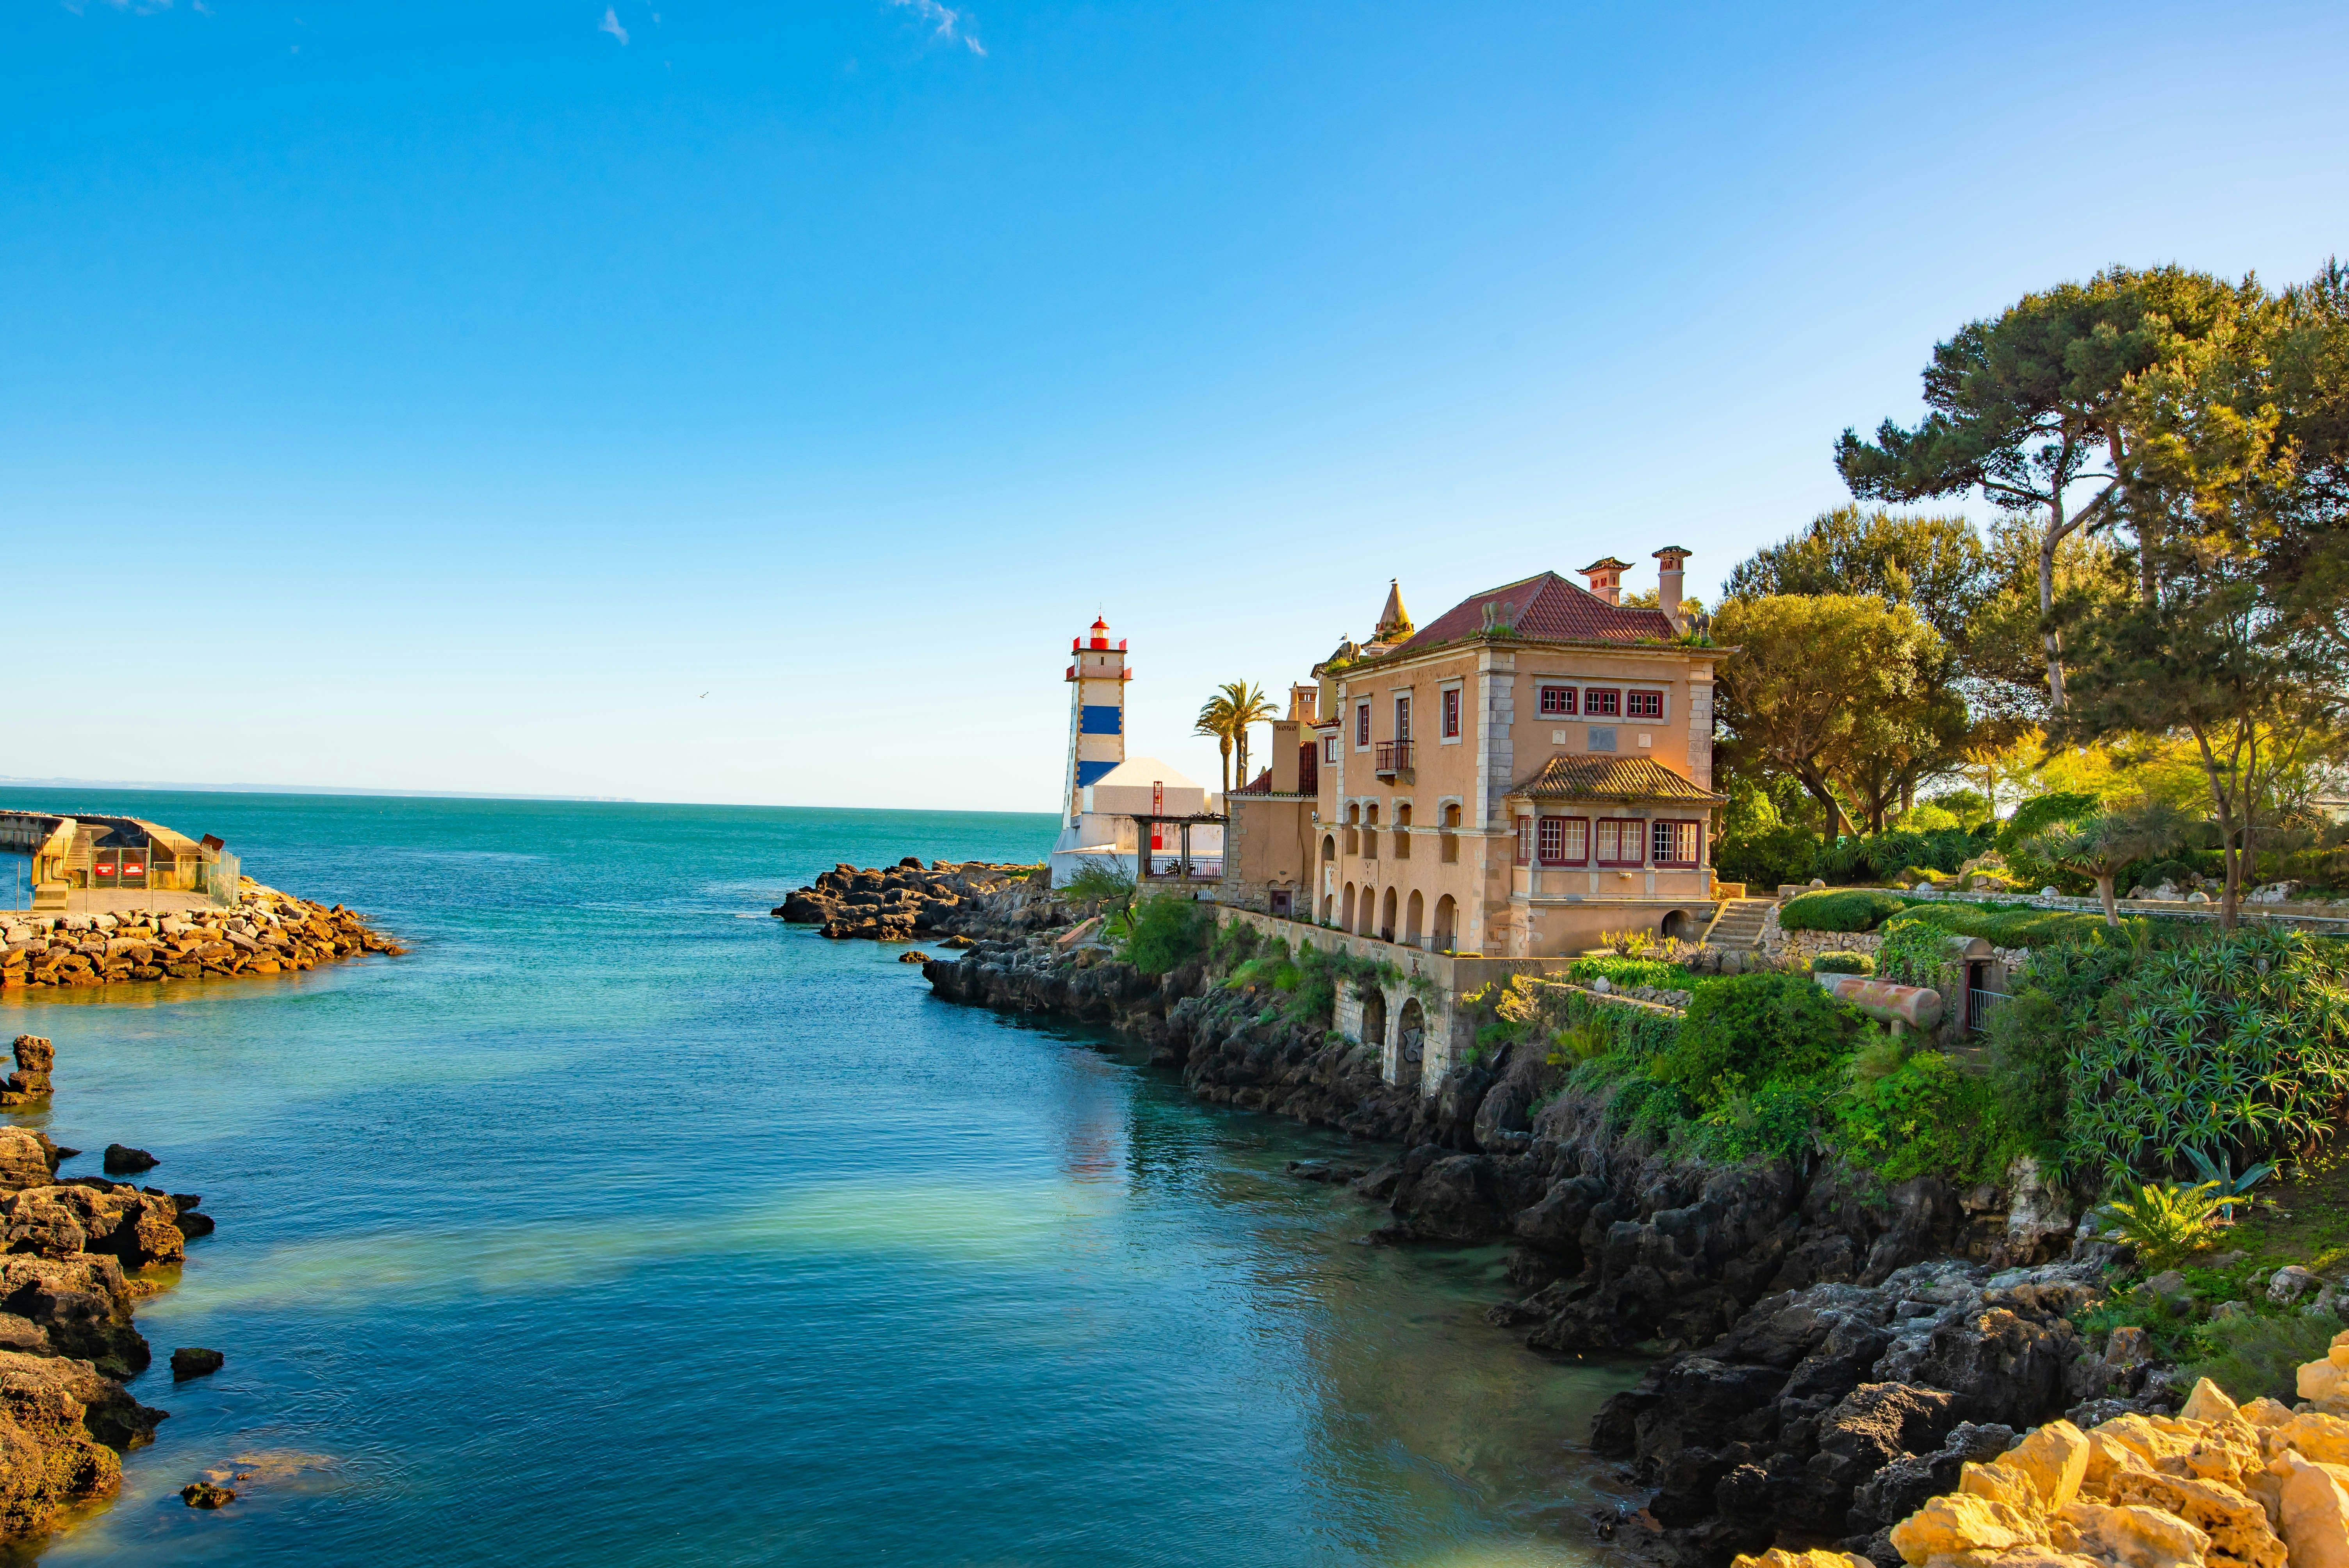
Cascais, Portugal

oceania
Darwin, Australia

europe
Ghent, Belgium

south-america
Cartagena, Colombia

europe
Genoa, Italy

europe
Antwerp, Belgium
europe
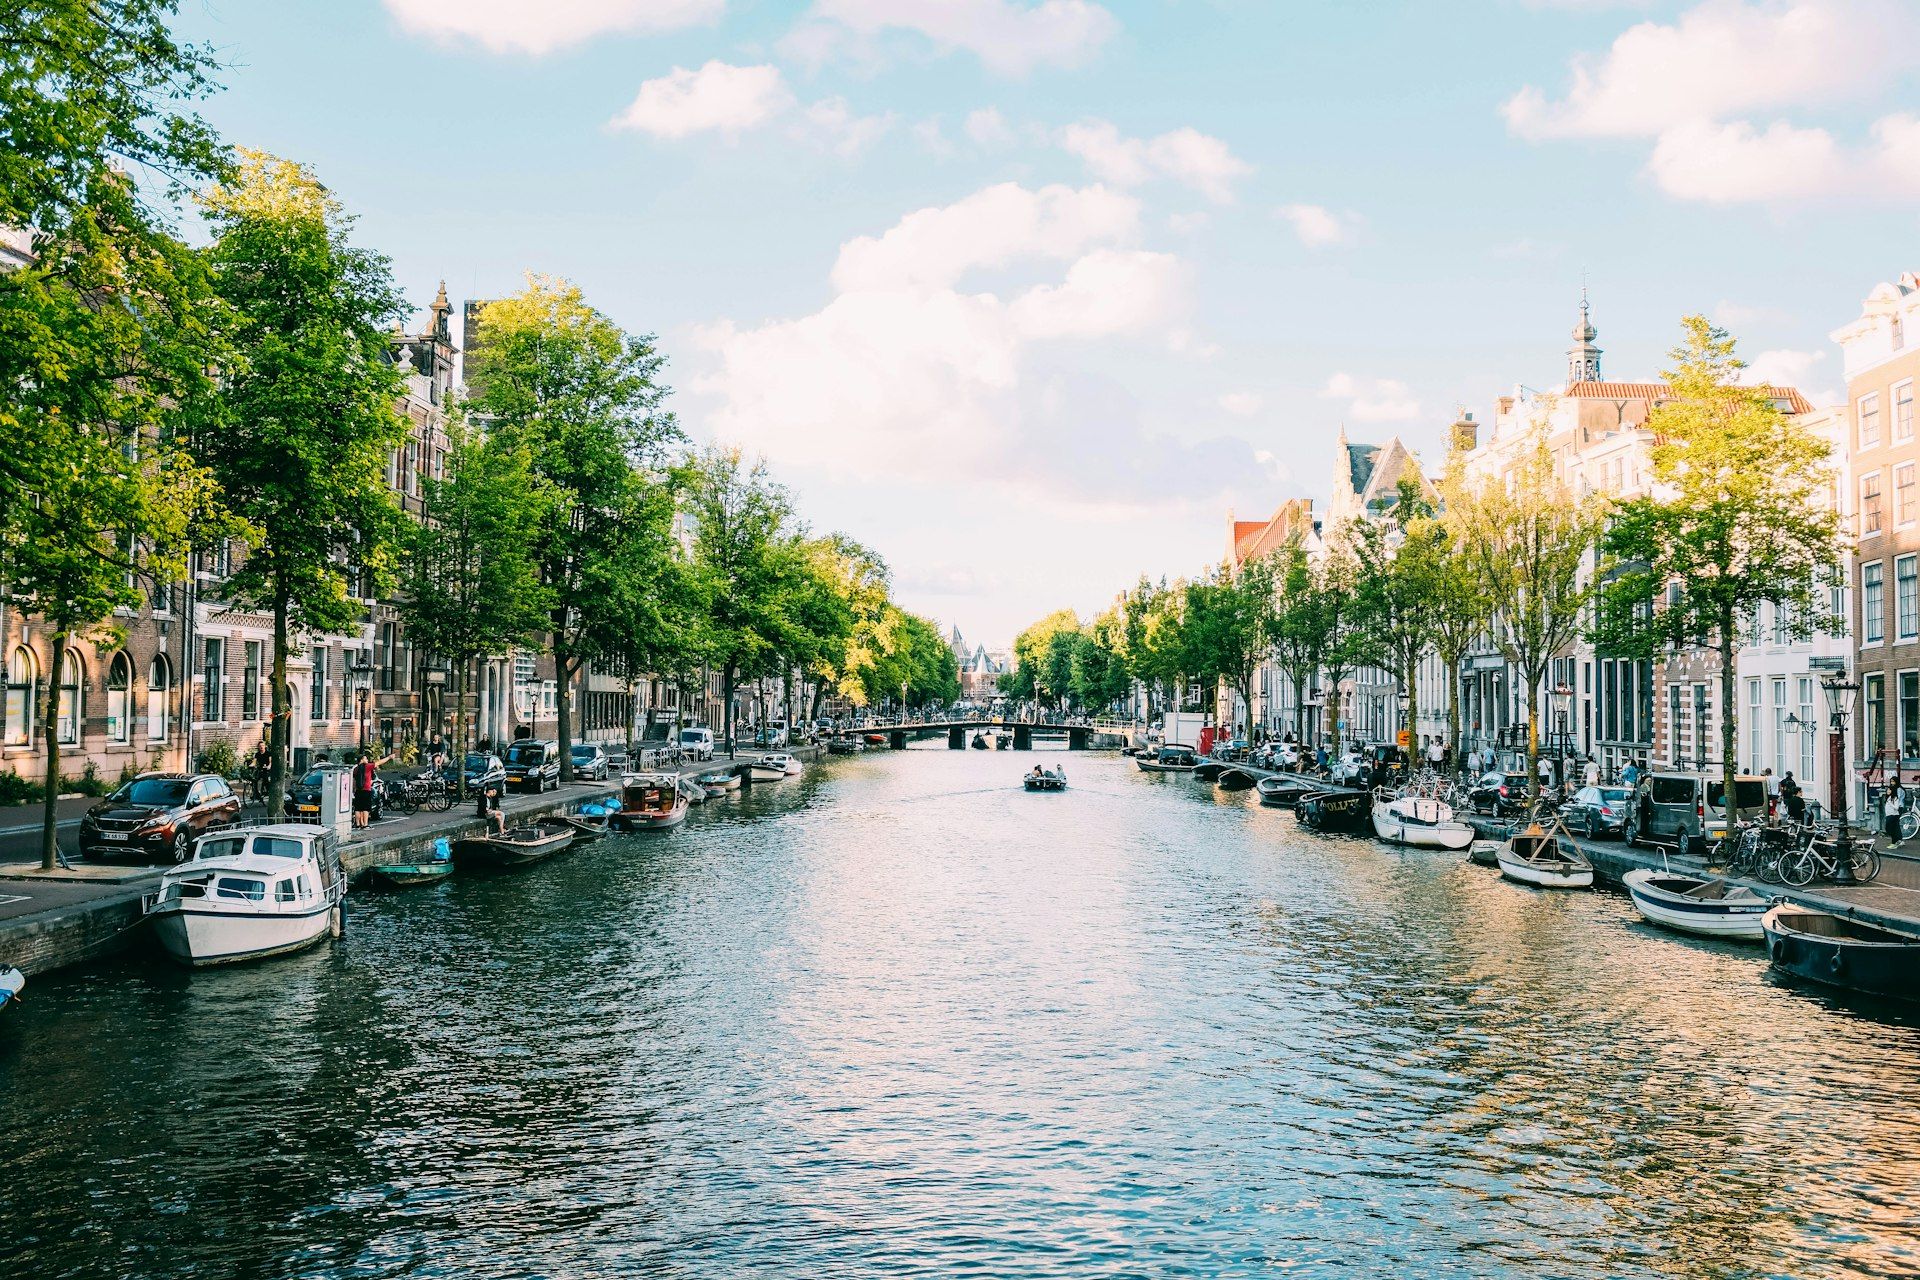
Amsterdam

asia
Krabi, Thailand
europe
Svalbard, Norway
europe
Helsingborg, Sweden
europe
London
europe
Budapest, Hungary
asia
Baku, Azerbaijan
europe
Galway, Ireland
north-america
Antigua, Guatemala
asia
Bali
europe
Barcelona
europe
Edinburgh, United Kingdom
europe
Helsingør, Denmark
south-america
La Paz, Bolivia
europe
Cascais, Portugal
oceania
Darwin, Australia
europe
Ghent, Belgium
south-america
Cartagena, Colombia
europe
Genoa, Italy
europe
Antwerp, Belgium
europe
Amsterdam
asia
Krabi, Thailand
Featured
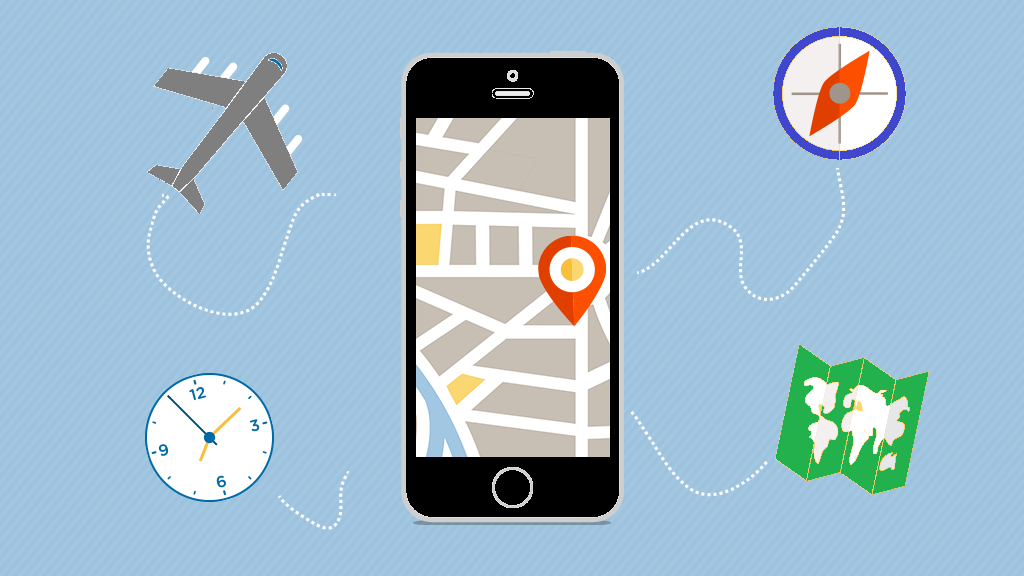
New: AI Trip Planner
Plan your perfect itinerary in minutes with our AI-powered trip planner. Personalized recommendations based on your style.
Try It Now
safety
Understanding Travel Insurance: What You Really Need
Demystify travel insurance with expert tips and essential advice.
technology
Best Travel Apps for 2026
Must-have apps that make traveling easier, cheaper, and more enjoyable.

transportation
Using Public Transport in Foreign Cities: A Guide
Master public transport abroad with insider tips and tricks.

transportation
How to Create a Flexible Travel Itinerary
Crafting a flexible itinerary for stress-free travel adventures.